Jekyllでの検索
全文検索はJekyllでも可能です。メリットもデメリットもあるいくつかの方法を実際にお見せします。 今回の例で、ブログ記事を検索できるようにしますが、コレクションかデータファイルによって簡単にできます。
クライアントサイドでの検索
クライアントサイドでの検索はよい方法です。なぜなら、小さなデータセットでは速く、サードパーティを使う必要もなく、 どのように結果を表示させるか、またどのデータが検索されたかを完全にコントロールできるからです。しかし、この方法は大きなデータセットになるととても遅くなります。
全文検索エンジンのlunr.jsを使って、実装を見ていきましょう。 Lunr.jsはクライアントサイドで検索を行うので、JSONを使ってデータを用意する必要があります。
JSON形式でデータを取得する必要があります。以下の内容で/search_data.jsonを作ります:
---
layout: null
---
{
  {% for post in site.posts %}

    "{{ post.url | slugify }}": {
      "title": "{{ post.title | xml_escape }}",
      "url": " {{ post.url | xml_escape }}",
      "author": "{{ post.author | xml_escape }}",
      "category": "{{ post.category | xml_escape }}"
    }
    {% unless forloop.last %},{% endunless %}
  {% endfor %}
}
どのように作者とカテゴリを出力するか見てください。もしこの情報を使っていないのなら、これらの行を削除するか検索にかけたい他の情報に変更してください。
search.htmlを作ります。これは訪問者が検索ワードを入力するページです。
レイアウトに検索ボックスを追加して、全てのページに表示することができます。チュートリアルではこの方法を使ってシンプルにしておきました。
この内容をsearch.htmlに追加します:
---
layout: default
---

<form action="get" id="site_search">
  <label for="search_box">Search</label><input type="text" id="search_box">
  <input type="submit" value="search">
</form>

<ul id="results"></ul>検索用のJavascriptを作るために/js/search.jsの作成もしましょう。
lunr.jsからminifiedされたバージョンをダウンロードしましょう。
これらのファイルと、JQueryをsearch.htmlのフォームの下に読み込みます:
...
<script src="/js/lunr.min.js"></script>
<script src="https://ajax.googleapis.com/ajax/libs/jquery/1.11.3/jquery.min.js"></script>
<script src="/js/search.js"></script>
.../js/search.jsは3つのタスクを行います:
- 検索データの読み込み
- 検索
- 結果を表示
これらの段階ごとにコードに触れ、最後にファイル全体をお見せします。
では検索データの読み込みから始めましょう:
// Initalize lunr with the fields it will be searching on. I've given title
// a boost of 10 to indicate matches on this field are more important.
window.idx = lunr(function () {
  this.field('id');
  this.field('title', { boost: 10 });
  this.field('author');
  this.field('category');
});

// Download the data from the JSON file we generated
window.data = $.getJSON('/search_data.json');

// Wait for the data to load and add it to lunr
window.data.then(function(loaded_data){
  $.each(loaded_data, function(index, value){
    window.idx.add(
      $.extend({ "id": index }, value)
    );
  });
});
検索を行います:
// Event when the form is submitted
$("#site_search").submit(function(){
    event.preventDefault();
    var query = $("#search_box").val(); // Get the value for the text field
    var results = window.idx.search(query); // Get lunr to perform a search
    display_search_results(results); // Hand the results off to be displayed
});
結果を表示します:
function display_search_results(results) {
  var $search_results = $("#search_results");

  // Wait for data to load
  window.data.then(function(loaded_data) {

    // Are there any results?
    if (results.length) {
      $search_results.empty(); // Clear any old results

      // Iterate over the results
      results.forEach(function(result) {
        var item = loaded_data[result.ref];

        // Build a snippet of HTML for this result
        var appendString = '<li><a href="' + item.url + '">' + item.title + '</a></li>';

        // Add it to the results
        $search_results.append(appendString);
      });
    } else {
      $search_results.html('<li>No results found</li>');
    }
  });
}/js/search.jsの全体はこのようになります:
jQuery(function() {
  // Initalize lunr with the fields it will be searching on. I've given title
  // a boost of 10 to indicate matches on this field are more important.
  window.idx = lunr(function () {
    this.field('id');
    this.field('title', { boost: 10 });
    this.field('author');
    this.field('category');
  });

  // Download the data from the JSON file we generated
  window.data = $.getJSON('/search_data.json');

  // Wait for the data to load and add it to lunr
  window.data.then(function(loaded_data){
    $.each(loaded_data, function(index, value){
      window.idx.add(
        $.extend({ "id": index }, value)
      );
    });
  });

  // Event when the form is submitted
  $("#site_search").submit(function(){
      event.preventDefault();
      var query = $("#search_box").val(); // Get the value for the text field
      var results = window.idx.search(query); // Get lunr to perform a search
      display_search_results(results); // Hand the results off to be displayed
  });

  function display_search_results(results) {
    var $search_results = $("#search_results");

    // Wait for data to load
    window.data.then(function(loaded_data) {

      // Are there any results?
      if (results.length) {
        $search_results.empty(); // Clear any old results

        // Iterate over the results
        results.forEach(function(result) {
          var item = loaded_data[result.ref];

          // Build a snippet of HTML for this result
          var appendString = '<li><a href="' + item.url + '">' + item.title + '</a></li>';

          // Add it to the results
          $search_results.append(appendString);
        });
      } else {
        $search_results.html('<li>No results found</li>');
      }
    });
  }
});
TapirGo
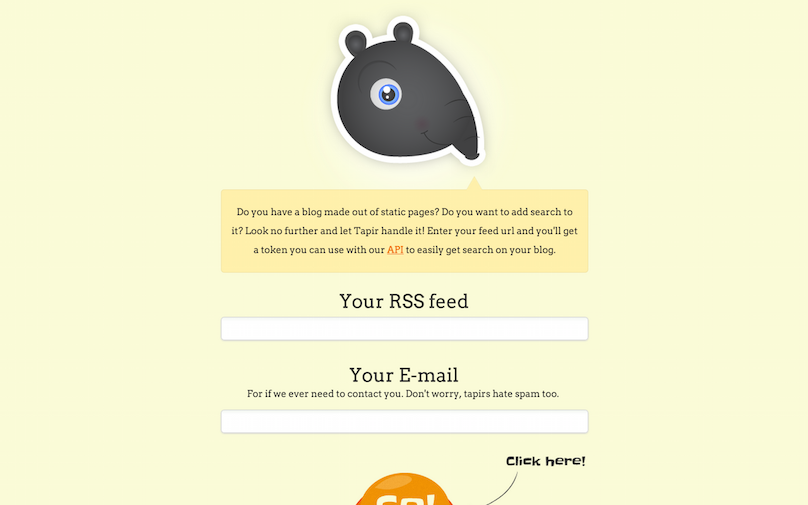
TapirGoは無料の、80Beansによって提供されているRSSフィード検索ができるサードパーティサービスです。
これは設定もシンプルで、大きな索引でも速いです。しかし、すべてのデータはRSSフィード内に無ければならず、 コンテンツの表示方法に関してそれほどコントロールができません。
あなたのJekyllサイトにはすでにRSSフィードがセットアップされていると思います。もしまだなら、RSSフィードチュートリアルを確認して下さい。
TapirGoにアクセスし、無料アカウントを登録しましょう。メールアドレスとあなたのRSSフィードのURLを入力する必要があります。

以下の内容でsearch.htmlを作ります:
<script src="/jquery-tapir.min.js"></script>
<script type="text/javascript">
jQuery(function() {
  $('#search_results').tapir({'token': 'YOUR_TOKEN_HERE'});
});
</script>

<form id="site_search" method="get" action="search.html">
  <label for="search_box">Search</label><input type="text" id="search_box" name="query">
  <input type="submit" value="search">
</form>

<ul id="search_results"></ul>
登録時にTapirgoからもらったトークンでYOUR_TOKEN_HEREを置き換えてください。
これだけです!検索によるすべての結果が、サイトに表示されるでしょう。
Google検索
これは実装がもっともシンプルな方法です。Googleはあなたのサイトに貼り付けできる検索ボックスを提供しています。 速く、良い検索結果も出してくれます。デメリットは、実際に検索されているものに対して多くのコントロールを持てないということです。 また、無料プランでは検索数の制限や、広告の表示があります。
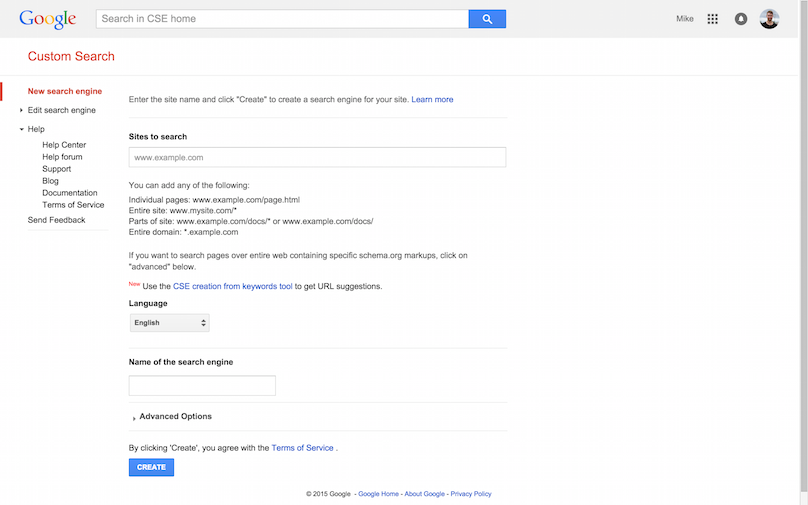
新しいGoogle Custom Search Engineを作ります。

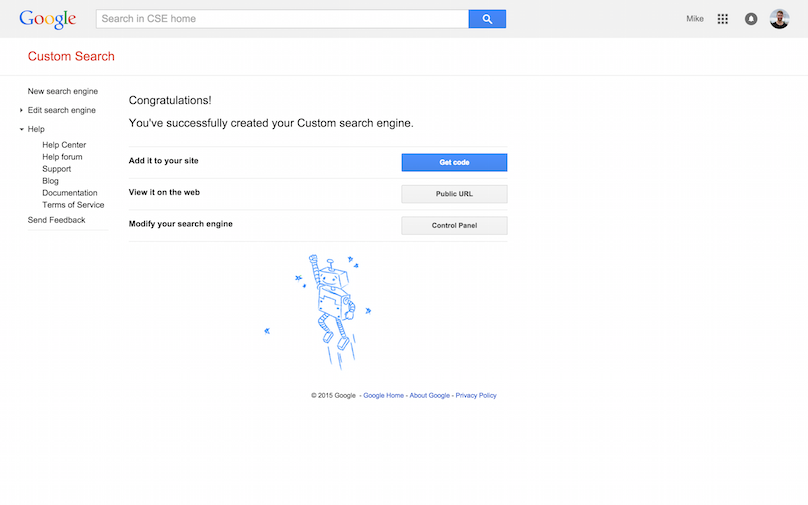
次のページで、”Get Code”をクリックします。

このコードをあなたのサイトにコピー&ペーストします。
検索ボックスに検索ワードを入力すると、結果が表示されるでしょう。
